Screen Printing
To create a printed image
A positive & stencil is required, this is called a “set-up”.

To create a stencil
The process is to coat the screen with a photographic sensitive emulsion, dry, expose with UV light, which hardens the area not to be printed and allows the black area of the positive filmwork to be washed away ready to be printed – in other words creating a negative screen.
Once the screen has been washed, dried, the next step is preparation for print, touching up any tiny holes & taping the circumference of screen to stop leakage of ink when on a print run.
For each different colour, a screen is required.
To create a positive film,
There are any number of ways, most commonly printing dense black ink image onto acetate clear film, the area to be printed would be black, and this is the positive film that gets exposed to the screen.
To create a print
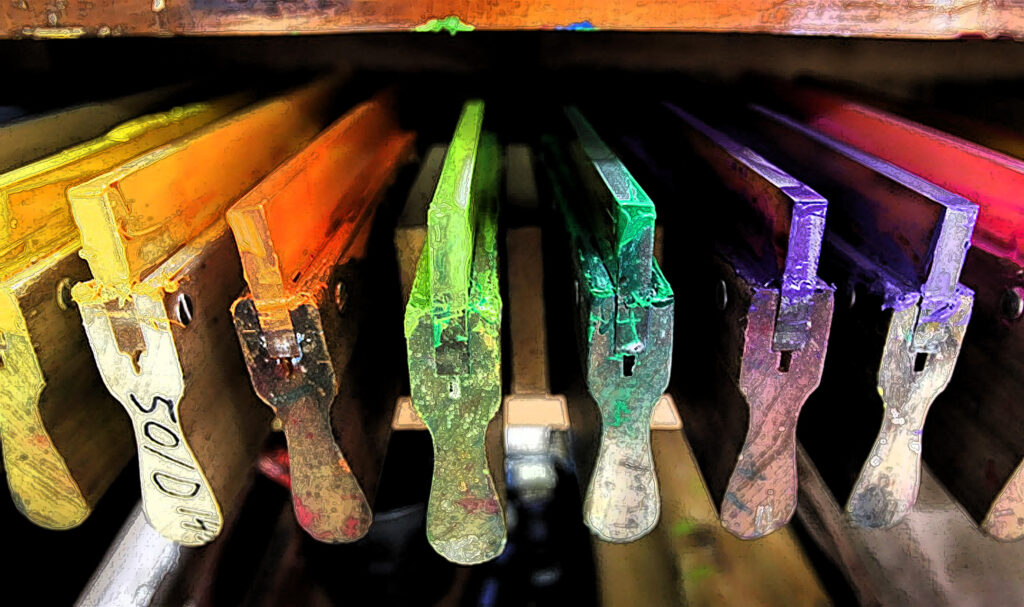
The correct squeegee, (hardness/ softness, sharpness/roundness of blade) is chosen for the viscosity of ink, substrate to print on.
There are endless substrates that can be printed on with screen printing textile, timber, glass, metal, acrylic, paper, the list is endless.
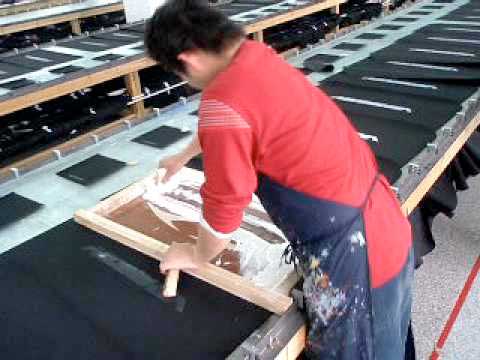
The screen is placed on a flat surface, with substrate underneath, the coloured ink is loaded into the top of the screen and the squeegeed is pulled the length of the screen.


